Saturday, November 21, 2015

Design


      My design is glasses in which lenses would be suitable for several sight powers, so you won't need to change lenses for a while, even if you sight power changes. One pair of glasses can be suitable only for 30 different sight powers. Otherwise the lens would be too thick.

      Here are two examples of how can glasses look.


So, glasses can be any shape, color and material. The price will depend on design the glasses. 

I've also completed a research on different types of lenses.


·       Polycarbonate lenses. These eyeglass lenses are impact-resistant and are a good choice for people who regularly participate in sports, work in an environment in which their eyeglasses may be easily scratched or broken, and for children who may easily drop and scratch their eyeglasses. Polycarbonate lenses also provide ultraviolet protection.
·       Trivex lenses. These lenses are made from a newer plastic with similar characteristics of polycarbonate lenses. They are lightweight, thin, and impact-resistant and may result in bettervision correction than the polycarbonate lenses for some people.
·       High index plastic lenses. Designed for people who require strongprescriptions, these eyeglass lenses are lighter and thinner than the standard, thick "coke bottle" lenses that may otherwise be needed.
·       Aspheric lenses. These eyeglass lenses are unlike typical lenses, which are spherical in shape. Aspheric lenses are made up of differing degrees of curvature over its surface, which allows the lens to be thinner and flatter than other lenses. This also creates an eyeglass lens with a much larger usable portion than the standard lens.
·       Photochromic lenses. Made from either glass or plastic, these eyeglasses change from clear to tinted when exposed to sunlight. This eliminates the need for prescription sunglasses. These eyeglass lenses may not darken in a car because the windshield could block the ultraviolet rays from the sun.
·       Polarized sunglasses. Light reflected from water or a flat surface can cause unwanted glare. Polarized lenses reduce glare and are useful for sports and driving. These lenses may cause the liquid crystal displays on the dashboard of cars to appear invisible.
       

     References:
     n/a. (2015). Eyeglasses and Your Eyes. Available: http://www.webmd.com/eye-health/eyeglasses-eyes. Last accessed 21 Nov 2015.


Friday, November 13, 2015

Child Friendly Syringe - Rabbit

My task was to create a child friendly syringe. I thought of a rabbit because they are fury and cute. When children are afraid of needles, nurses could give them a toy, so children would be distracted from a needle. I made a syringe like a carrot,so the child would think it's also a toy.

For head and legs I used spheres and half spheres shapes. For nose I used pyramid shape and for mouth - round roof shape. I found bunny ears shapes in extras. And terrain in generated shapes.
For a carrot I used cone and half sphere shapes. Greens are originally a tree shape in generated shapes. For needle I used a sphere.


Wednesday, October 28, 2015

Project - 3D Modelling and Design

Questionnaire about my project

Questions
Answers
Do you think it will work for all the people?

4/10 people answered yes.
6/10 people answered no.
Is it going to be comfortable not to change lenses in the glasses?
10/10 people  answered yes.
Would you prefer colorful or transparent lenses?
7/10 people have chosen transparent lenses.
3/10 people have chosen transparent lenses.
Would you buy those glasses?

8/10 people answered yes.
2/10 people answered no.

Tuesday, October 27, 2015

Project - 3D Modelling and Design

Inquiry and Analysis
Statement of inquiry: Digital design and Printing as a form of communication and output has evolved through time and space to influence audience's perspective.

I am a student of Technology. As part of the MYP design term 1, we are using the software Tinkercad that helps design 3D objects. Computer Aided Design has involved as a unique way of creating 2D and 3D Objects. It is used to create precision on drawings or technical illustrations.
Tinkercad is an easy, browser-based 3D design and modeling tool for all. Tinkercad allows users to imagine anything and then design it in minutes. Tinkercad is a simple, online 3D design and 3d printing tool for the masses. Whether you are a designer, hobbyist, teacher, or student, you can use Tinkercad to make toys, prototypes, home decor, Minecraft models, jewelry – the list is truly endless!
You dream it, you can make it. My goal is to become a proficient Tinkerer!
Tinkercad was founded by Kai Backman and Mikko Mononen in 2011, bringing the first browser-based 3D design platform to the masses.
You can show all of your creativity, using Tinkercad. After completing basic lessons and simple designs that are guiding you step by step, you can easily create whatever comes to your mind. Also, you can print your designs in 3D format! You can see others’ creations and others can see your work.
Sometimes you need to be patient about your projects to make them really original and interesting.

There is a lot to do on Tinkercad and I am looking forward to do some more awesome designs!
I will create a project to improve community and help people. I want to create special glasses, that would be suitable for all people. People have different sight power, but the lenses would be universal. You won’t need to change lenses in them even if your sight power will change.

Monday, October 12, 2015

Design 3

I did Design 3 - a house.

Step 1.

I put a box shape on the workplane and scaled it to the size 49×36×36. Then made it purple color.
Step 2.
I put another box shape and scaled it to the size 1.50×0.75×19. Made it yellow color and put it in front of the purple box. This is a door.
Step 3.
I put a workplane on top of the purple box and put a roof shape. Then scaled it to the size 54×39×10.
Step 4. 
I dragged a box shape on the workplane and scaled it to the size 11×12×48. Then I dragged it inside the house to the corner, so it will look like a chimney. And later made it purple color.
Step 5.
I put a workplane on top of the chimney. Then I was putting 5 sphere shapes size of 10×10×10 on top of each other, so it would like smoke coming out of the chimney. After, I grouped the spheres and made them light grey color.

So, this is what I had after I finished the steps above:


Tuesday, October 6, 2015

Tinkercad

Tinkercad is an online 3D design and 3D printing tool for the
masses. Whether you're a designer, hobbyist, teacher, or kid, you can use Tinkercad to make toys, prototypes, home decor, jewelry – the list is endless! There are over 4 million designs created with hundreds of new designs being added daily. 

I joined Tinkercad and done basic lessons. 


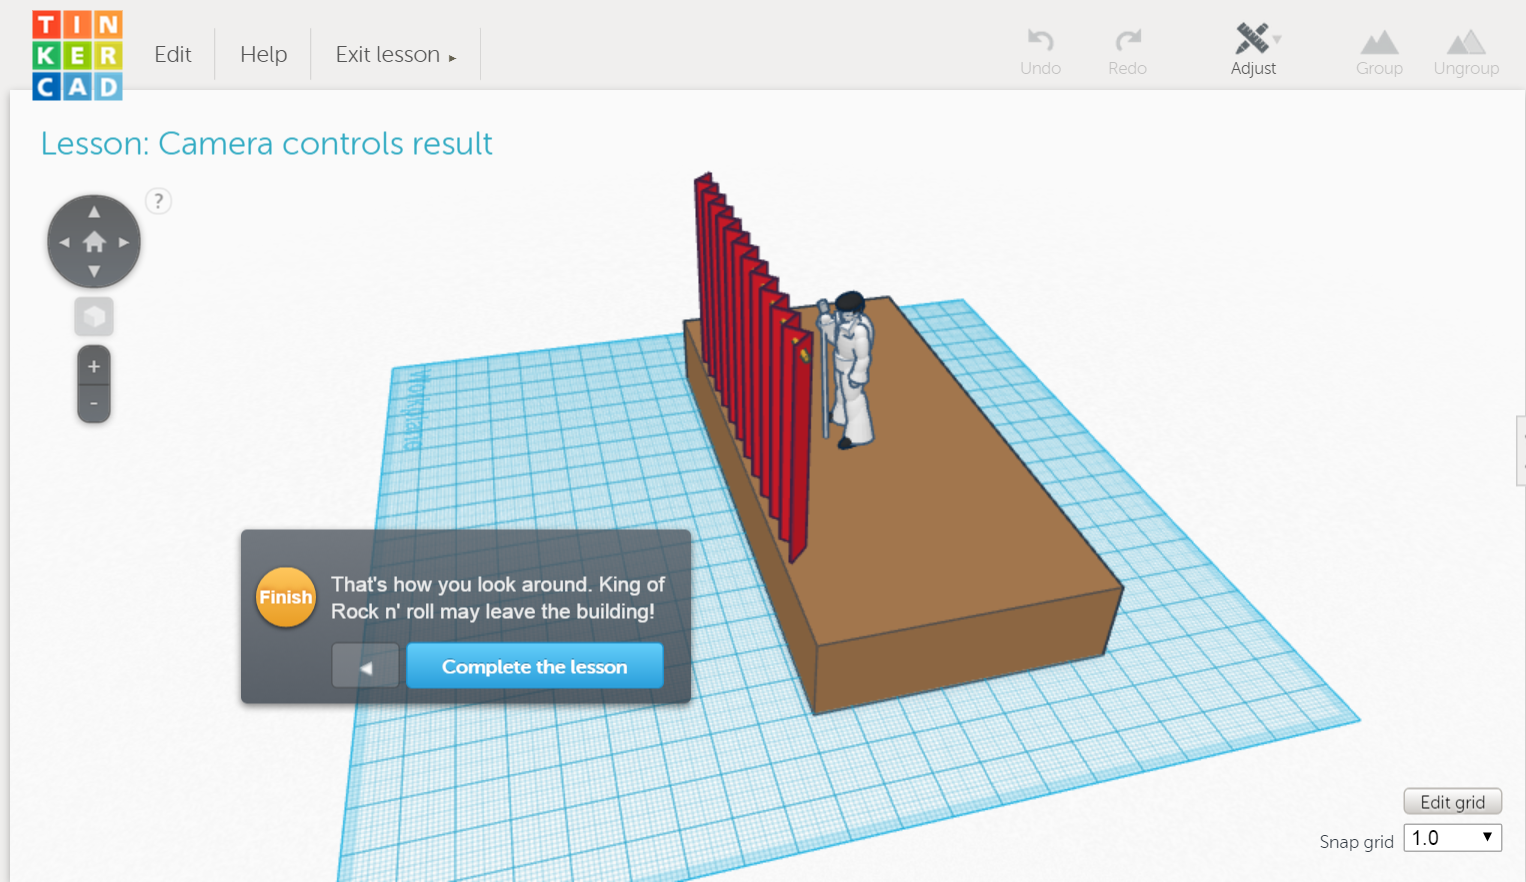
First was "Camera controls". This was pretty easy. I can use arrows on the left upper corner or do it easier with a mouse holding right button down. To zoom I can use either buttons on the screen or scroll wheel.


Second lesson was "Learning the moves". It also wasn't hard to complete. To move objects I just need to press left button on the mouse and move it.


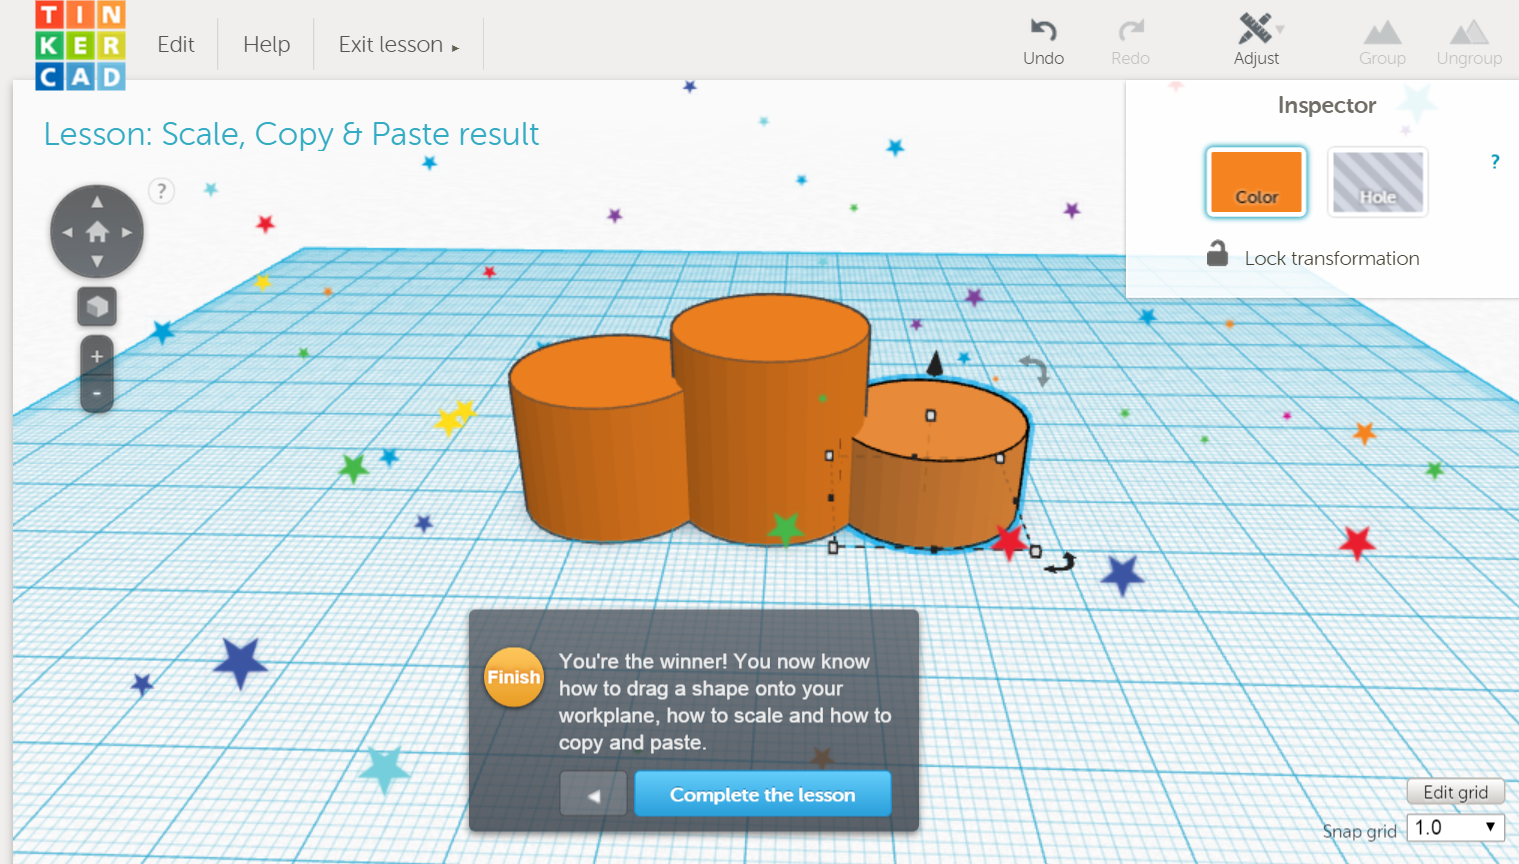
Third was "Scale, Copy & Paste". Scaling takes a bit of time, but copying and pasting is the easiest. First, I dragged two cylinders. Then I scaled the second one to height of 15mm by dragging white dot on top of it down. Then i needed to copy the cylinder and scale it to height of 10mm. To copy objects I can either press Ctrl+C and Ctrl+V or press Alt while moving object.


Fourth lesson was "Creating holes". To create a hole I just to choose the hole feature from the inspector in right upper corner. Then I need to group object with a hole figure and the hole is created.


Fifth lesson was "Key ring, letters!" I dragged letters of my name to the base and changed their color. After that, I resized the base to fit the length of the text by moving black dot on right edge of the base.Then I removed remaining letters off the workplane. And the last step was to group everything and make it multicolor. Done!


The last lesson was "Die on the workplane" First, I dragged workplane on the side on the die. Then I dragged number 5 on the workplane and made it 1mm height. Later, I did the same with number 6 on top of the die. To reset the original view I needed to drag workplane to empty spot. Then I grouped all objects. Finished!